
Hello! If you stumbled upon this blog, I invite you to visit my current website StephanieKensy.com – That blog will continue to be updated, this one will not. I’m so glad you stopped by today!
Happy crafting, Stephanie
Hello! If you stumbled upon this blog, I invite you to visit my current website StephanieKensy.com – That blog will continue to be updated, this one will not. I’m so glad you stopped by today!
Happy crafting, Stephanie

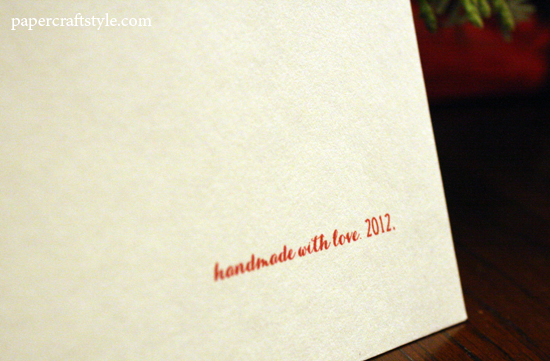
I had a few thank you notes for holiday gifts to send out, so I whipped up a set over the weekend. These are so easy to make, and you only need a few supplies: cardstock, ink, a Hero Arts thank you stamp set, and Martha Stewart holiday border stickers and tags. Just cut and fold the cardstock (I made them 4-bar size), stamp your sentiment, and trim and stick on the borders. For two of the cards, the row of gifts were cut from the tags. I fussy-cut a gift box from a duplicate tag and used a foam square to stick it on for some dimension. And of course I couldn’t resist adding a teeny-tiny pearl. :)
I love to get more use out of my Christmas crafting supplies after the holidays. How are you using your Christmas papers, embellishments, etc. now that the holidays are over, if at all?


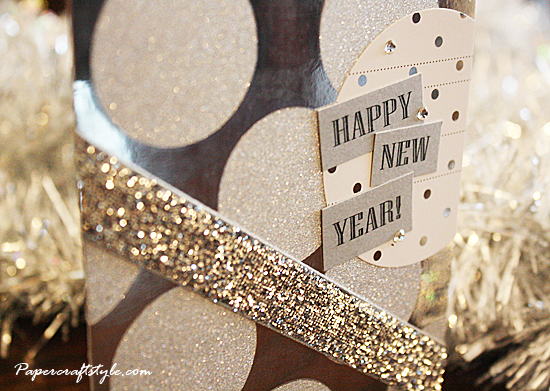
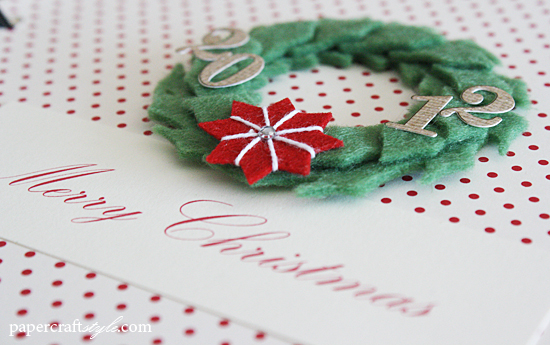
I’m back again today with a New Year’s card that pretty much sparkles and shines from every angle… just the way I wanted it! The background paper is from Michaels. I printed the sentiment myself and added some mini Swarovskis and Paper Source glitter ribbon for some extra bling. The inset circle is punched out from a Bloomingdale’s holiday catalog. We received the catalog in the mail a few weeks ago and as I paged through it, all I could focus on were all the gorgeous patterns. Besides the embossed cover that I used for this card, there are lots of fun snowflake patterned pages that will be perfect for winter layouts and cards. Have you ever kept a magazine or catalog to repurpose it for your crafting?
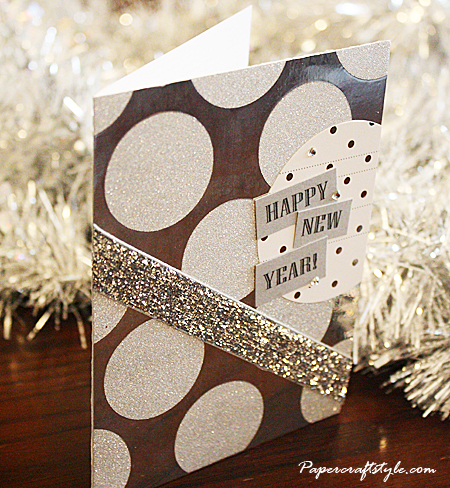
Thanks for stopping by… wishing you a happy new year!
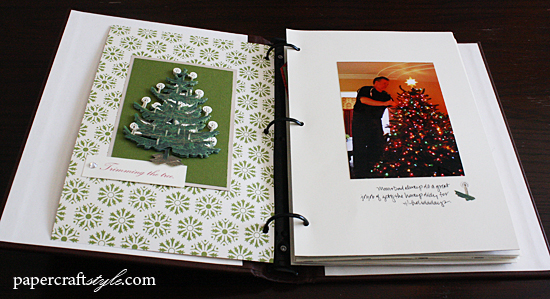
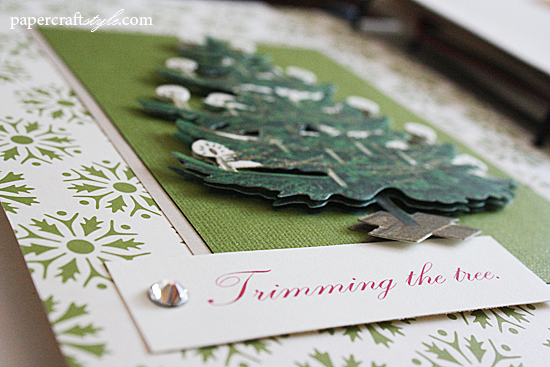
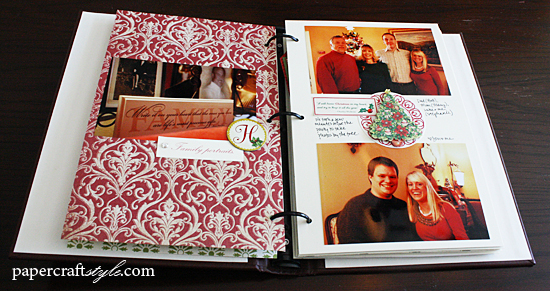
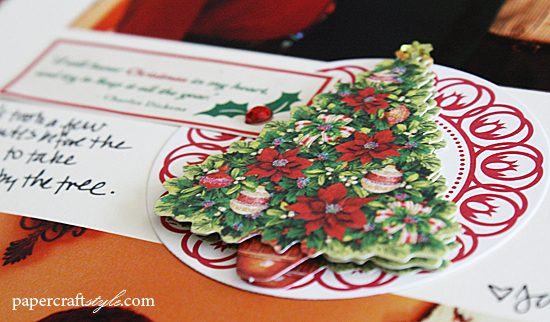
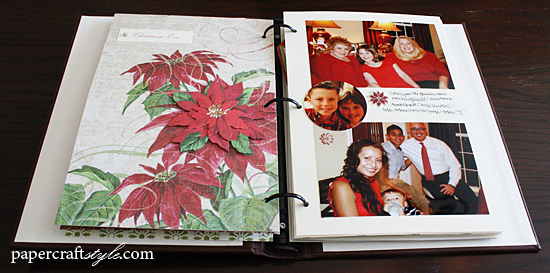
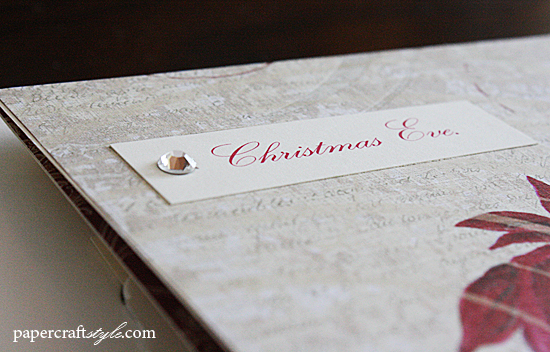
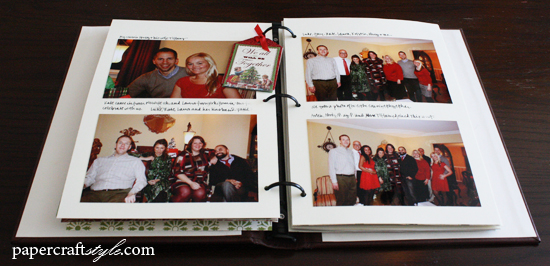
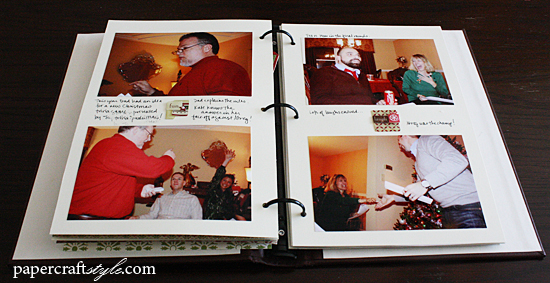
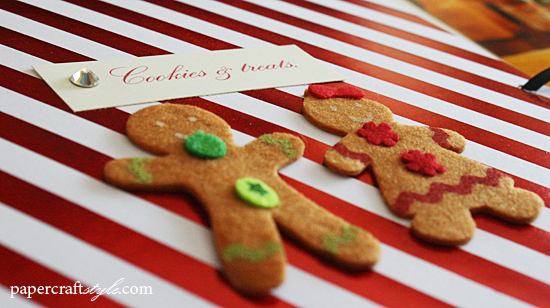
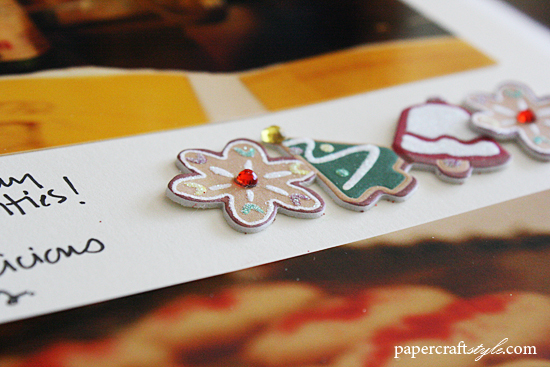
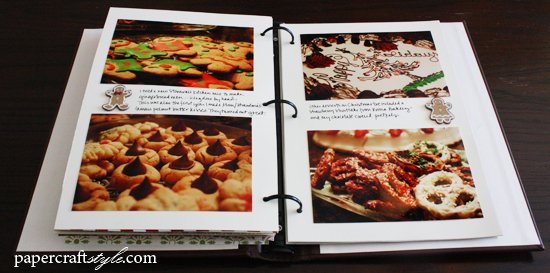
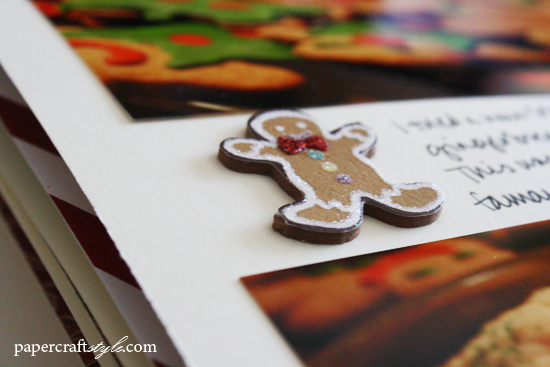
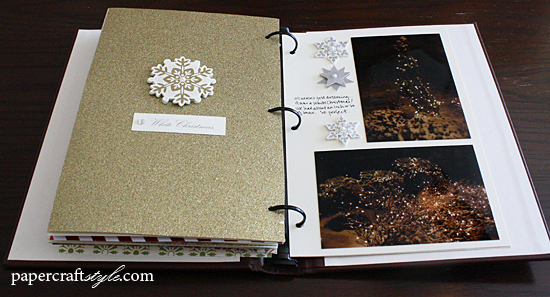
I was happy to get some great shots of the family during our Christmas celebrations this year. And with holiday crafting supplies in my stash… and free time over Christmas vacation… the only logical thing to do is to scrapbook those photos, right? ;)
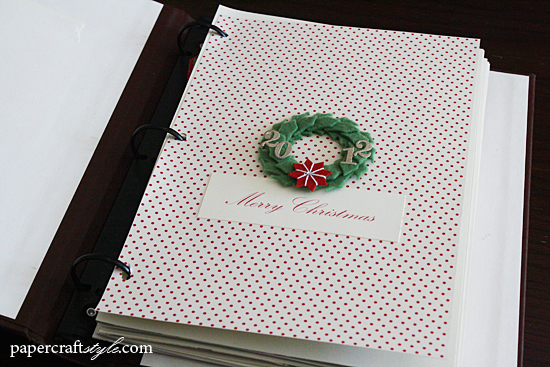
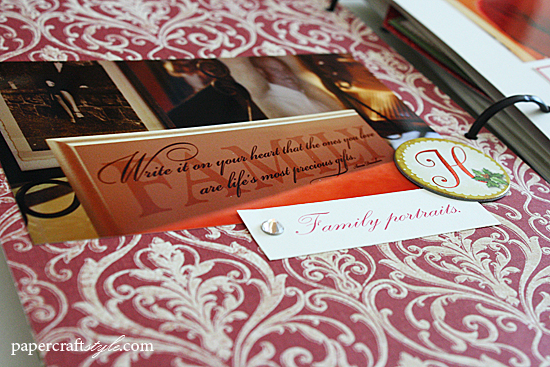
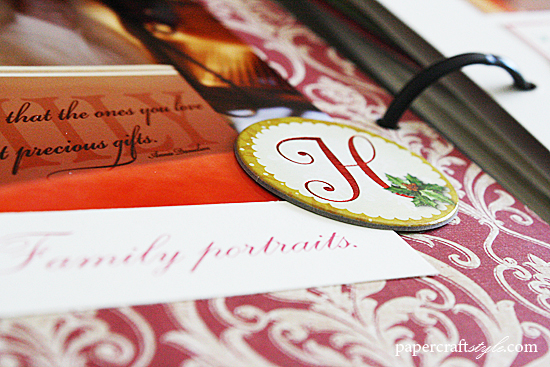
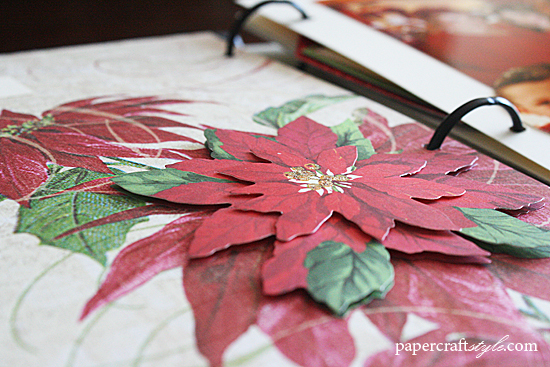
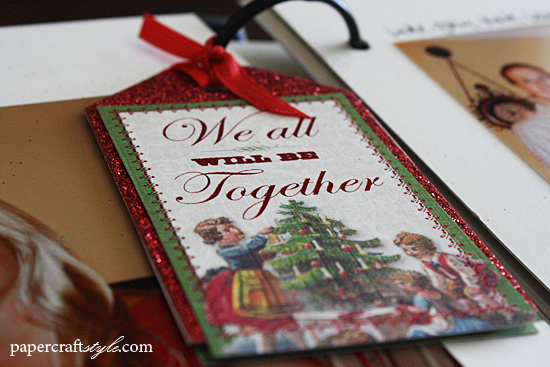
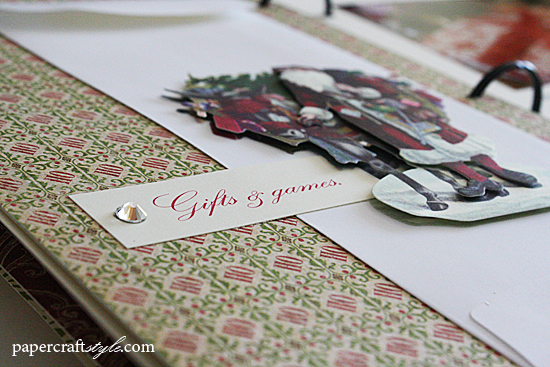
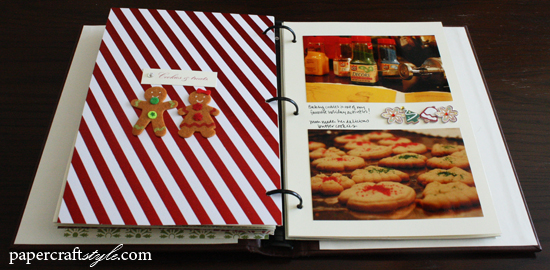
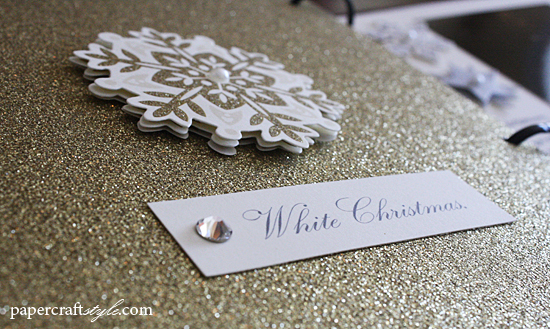
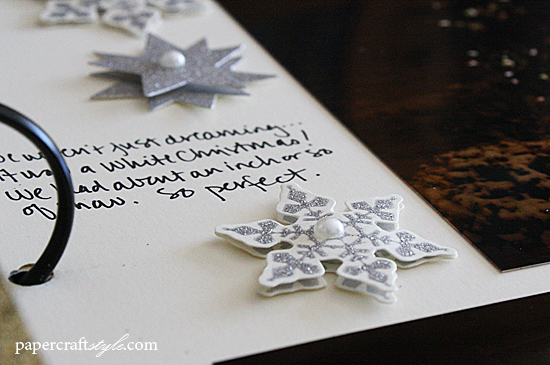
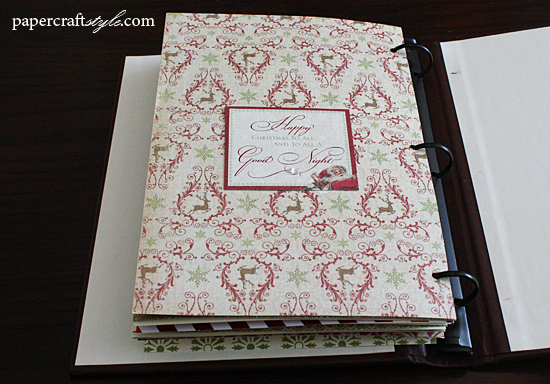
I’ve had this brown leather album for awhile. It is a traditional photo album. I removed the photo page protectors that came with the album and replaced them with typical cardstock. I was grateful for the extra space the binder-ring style allowed since I used so many 3d embellishments. For consistency, I typed and printed out “chapter” titles (“Family Portraits,” “Gifts & Games,” etc.) and placed them on full pages to introduce each section.
I also made sure to carefully record every person’s name since we got so many group shots. I feel like that’s so important when putting family photos in album, so everyone will know who’s who in the years to come. Do you tend to label the people in your photos directly on the page? I’ve also seen some people include that info in the front or back of the album, or on the back of the photos themselves. How do you label your photos when you scrapbook, if at all?
Here’s a full look at the album, page-by-page:

I always look forward to making Christmas cards. Some years I’ll start as early as November developing a general idea or buying some supplies. But life has been so crazy lately, that suddenly I realized December had snuck up on me and I wasn’t quite sure what I would be doing for my holiday cards this year.
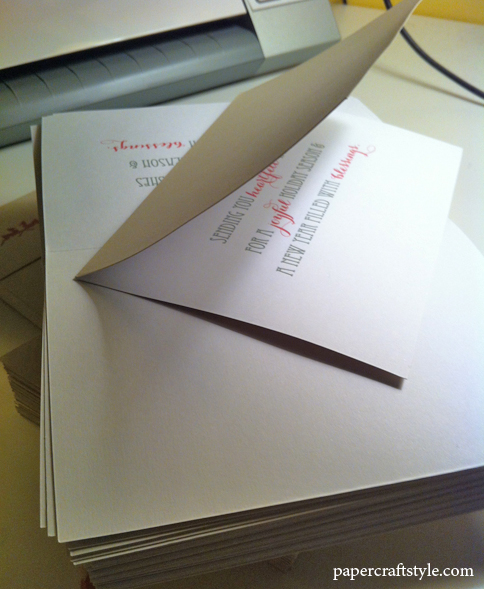
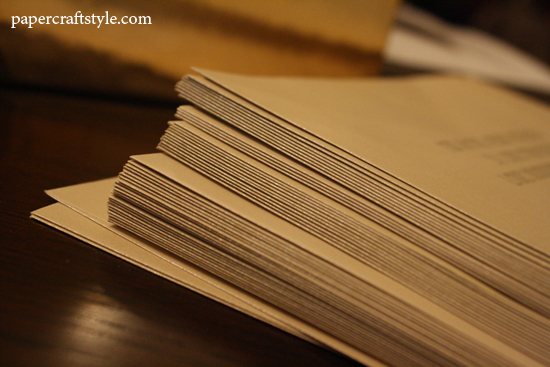
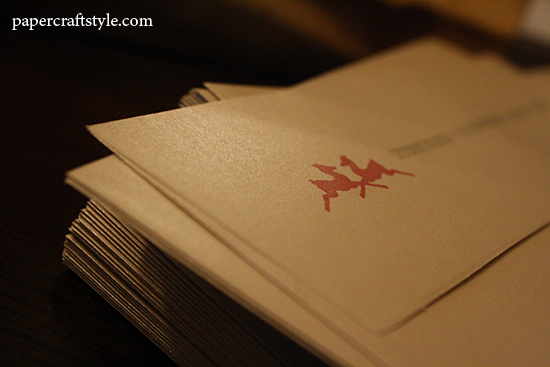
Things lightened up a few weekends ago, and thankfully I was also hit with the creative itch! For the first time, I managed to plan, buy supplies for, make, print envelopes and fill out all my 50-some cards in one weekend. And far from being exhausting… since I hadn’t crafted in a few weeks… I had so much fun!
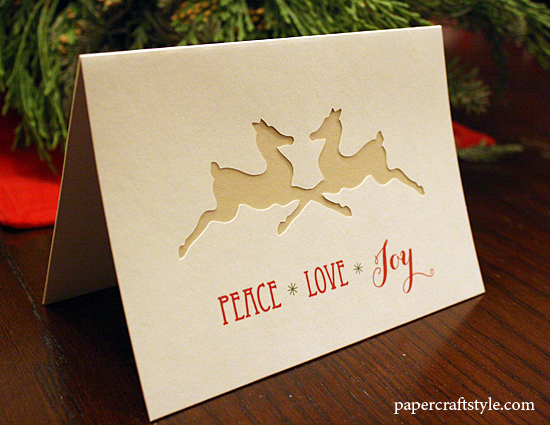
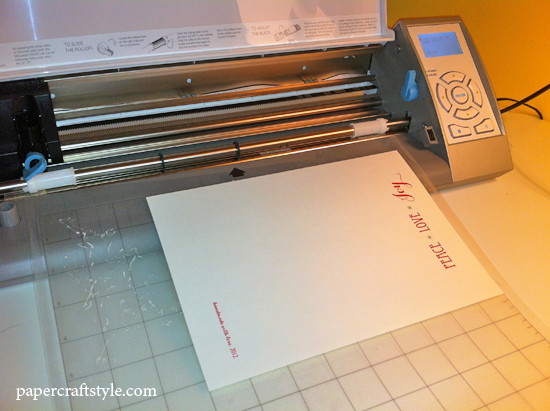
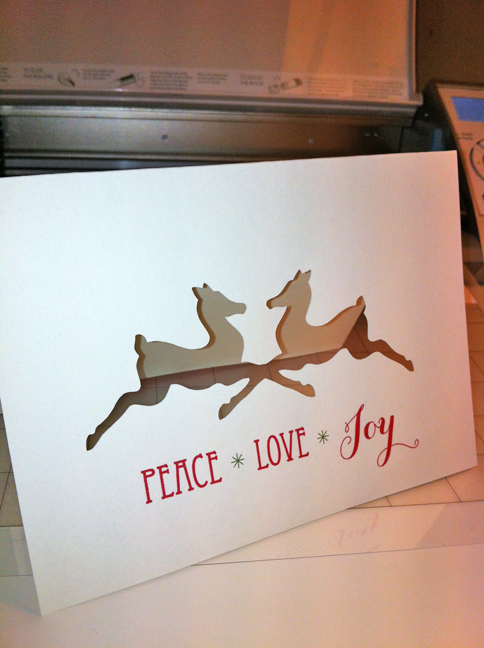
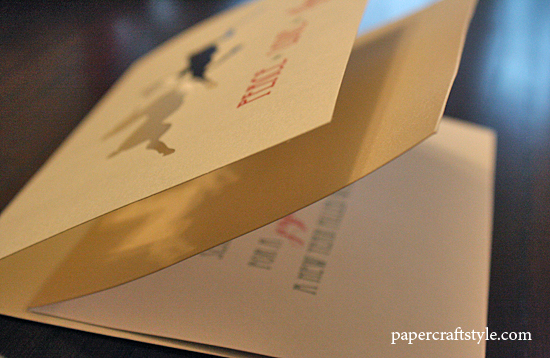
When I started thinking about what I wanted to make, I knew I wanted to do a flat design so I wouldn’t need extra postage or special envelopes… which made my die-cut Silhouette machine an obvious choice for a helpful tool. Holiday cards were also a good pre-wedding test project, to see if the machine could handle a gazillion cuts in a row. (And for the record, it did! I need a new cutting mat, but the machine itself didn’t seem the least bit tired ;)
Each card included two parts adhered together. I picked up the cards at Michaels. (Extra excitement here for an awesome Christmas sale that made these my most affordable cards yet.)
Here’s a peek into the process:


Thanks for stopping by to see my Christmas cardmaking process. Did you make your cards this year? Would love to see a link to your cards… feel free to leave a comment!
I’m hoping to be back tomorrow with some of my Christmas packages all dolled up…

Today I’ll keep my post short and sweet… I’m sharing some Thanksgiving cards I made using mostly Bella Blvd‘s Thankful collection. Enjoy!


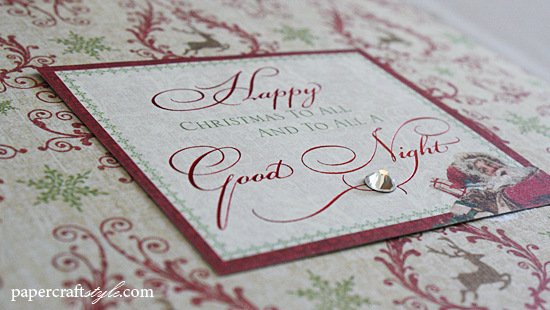
Today’s post is just a peek at a project… to see the whole project, you’ll have to pick up the latest special issue from Paper Crafts magazine, Paper Crafting Tips & Tricks! (You can buy it here.) This issue is awesome (I’m not just saying that!) and I’m pretty pumped to be part of it. It’s always been a mini goal of mine to be the designer behind my favorite column in the magazine – “Paper Crafts 101” – and that’s exactly what this issue is based on.
 If you’re not familiar with the column, the concept is pretty simple: Think of several different ways to use a single tool or product. I came up with some new ideas for using an electronic die-cutting machine. One of the techniques I present is shown here – using your machine to cut out your own sentiment.
What other ways are you using your die-cut machine? I’d love to see! To learn more about the magazine, I suggest you check out the week-long extravaganza over on the Paper Crafts Connection blog.

I’m SO excited to share that one of the cards I recently submitted to Paper Crafts magazine is up for “Readers’ Choice” and could be in the May/June 2013 issue!
If you could take a minute to vote for me HERE, I’d really appreciate it! All the cards were created for the “Raiding the Kitchen” feature. The challenge was to use a product from the kitchen in your project. Mine is the blue/gray “Hello There” card. I created a striped background using paper straws. Voting ends 3 p.m. EST Friday, November 9.
Congrats to all the talented cardmakers nominated! And thank you in advance for taking a minute to vote!

This weekend I was happy to have some time to do some crafting. It’s been awhile since I made an album and I decided to make a mini using mostly Amy Tangerine Sketchbook collection. (You’ll also see pieces of Dear Lizzy Neapolitan and BasicGrey’s Shine On, too.) I immediately fell in love with Sketchbook when I saw it online (handwriting fonts? watercolor flowers? um, yes please!) and I’ve had the Amy Tan stickers and papers in my stash for a few months now. I’ve been taking quick snapshots on my iPhone lately and used these photos as the base for the album. These are my favorite types of albums… ones that capture the everyday and reflect on the beauty around us at any given moment. Here’s a peek inside. Thanks for stopping by!


 (click photo to see larger)

 (click photo to see larger)


 (click photo to see larger)


 (click photo to see larger)

Happy World Card Making Day! I could not think of a better day to get back into blogging.
The fall is one of my favorite times of year to make crafts and I had so much fun today making cards for Halloween. I used mostly K&Company’s Kelly Panacci Halloween die-cut cardstock elements. They are so cute, perfectly sized for making cards and great to mix and match. I had bought this pack a few months ago to make cards for Paper Crafts magazine‘s Halloween issue. I never ended up submitting, but loved having them in my stash to make some cards today:


How are you celebrating World Card Making Day? If you’ve posted anything you’ve made online today, I’d love to see – feel free to leave a comment. Whether you’re celebrating WCMD or just enjoying the weekend, hope you have a good one. :)
